
Video course · 14 chapters · 31 min · certificate
Edit Photos by Instruction in ComfyUI with Qwen Image
SECourses teaches how to edit photos with natural-language instructions inside ComfyUI using the Qwen Image model. The chapters cover denoise comparison, two-reference edits, character consistency, storyboards, and relighting.
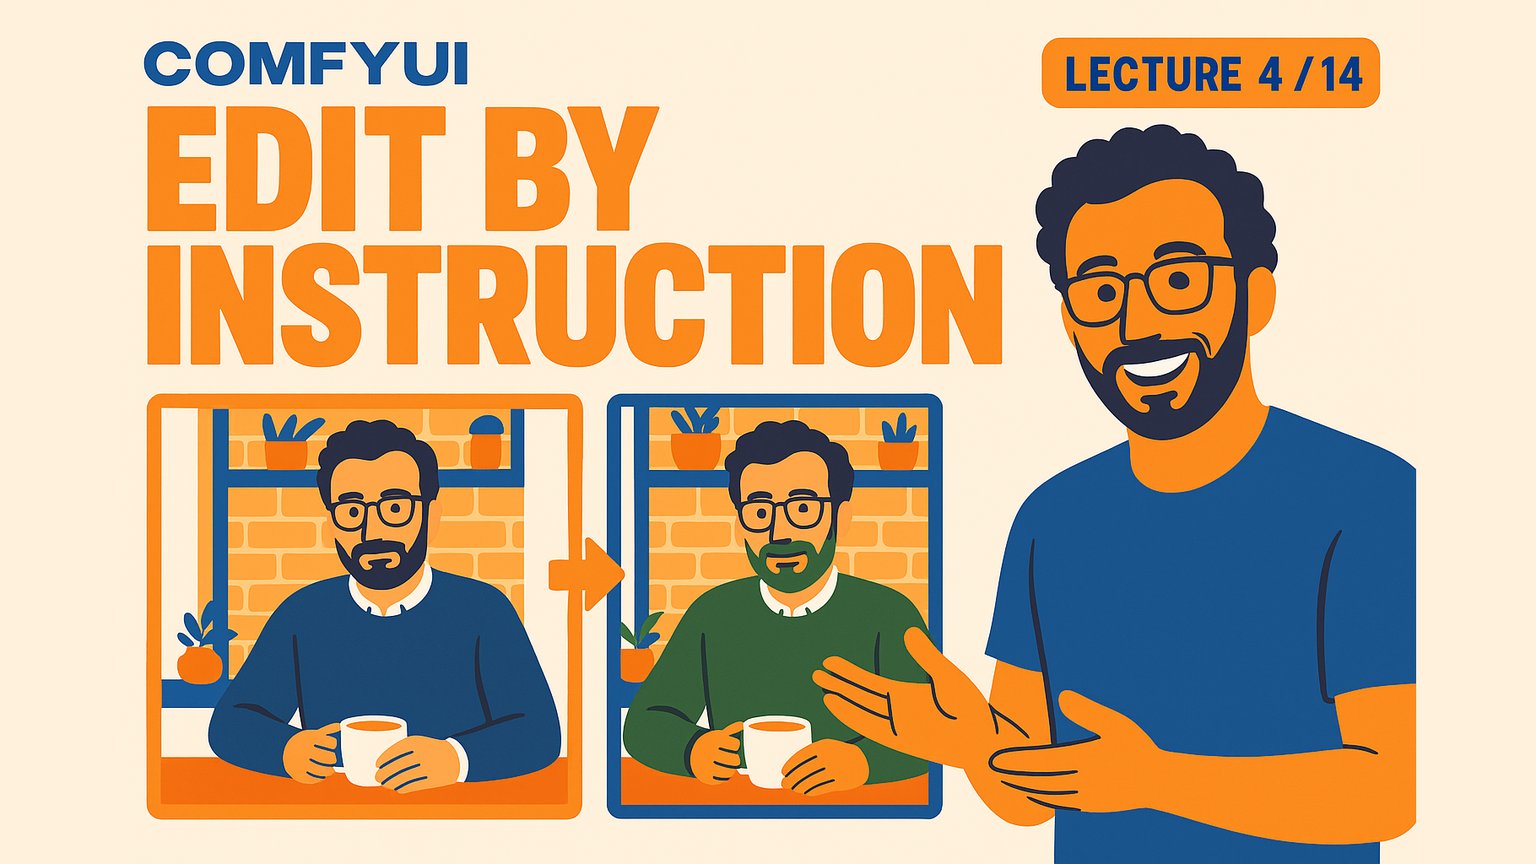
What you'll learn
- Compare image-to-image and conditioning-based editing approaches in ComfyUI
- Measure changed pixels using difference masks and threshold nodes
- Replace text on photographed signs with exact characters and punctuation
- Transfer clothing between two reference images using named tags
- Build a multi-scene storyboard with one consistent character
- Apply relighting instructions that follow photographic light descriptions
Chapters
14 chapters · 30:48-
1:48
01ComfyUI Update Members
Edit photos by instruction: today's results
Update ComfyUI with the same route from Lecture 2 before starting the lesson.
-
3:02
02Load Image Members
Turn text-to-image into image-to-image
Replace the Empty Latent Image with a Load Image node and encode the photo into a latent.
-
3:04
03Denoise Grid Members
Compare four denoise strengths in one grid
Run four samplers with different denoise values and collect results in one image grid.
-
2:06
04Conditioning Edit Members
Edit with the photo in the conditioning
Use the photo as a reference inside the text encoder for instruction-based editing.
-
1:14
05Regeneration Members
Why denoise one is still editing
Conditioned regeneration redraws the whole picture, so unchanged areas are near-identical, not identical.
-
4:02
06Difference Map Members
Measure changed pixels with a difference map
Subtract the original from the edit, threshold the result, and save a white map of changed pixels.
-
2:14
07Resolution Members
Pixel budget: detail versus time
Compare 1024 and full-resolution reference encoding to see the detail-time trade-off.
-
1:29
08Text Editing Members
Replace words on a photographed sign
Edit sign text in a bakery storefront photo with exact quotes and characters.
-
1:30
09Two References Members
Two references with named roles
Use two Load Image nodes with named tags to transfer a jacket from one photo to the man in another.
-
1:22
10Turnaround Members
One character: a turnaround sheet
Generate a three-view turnaround sheet of the explorer from one anchor photo.
-
3:24
11Storyboard Members
Place the explorer in three storyboard scenes
Place the explorer into railway, hilltop, and workshop scenes with the anchor as a named reference.
-
3:22
12Sequential Edits Members
Five sequential edits and a clean rollback
Run five edits one after another on the latest result, then recover by returning to the clean anchor.
-
1:05
13Relighting Members
Relight a portrait by instruction
Describe light the way a photographer would to relight the portrait.
-
1:06
14Export Members
Export the workflow and recap
Export the workflow file and review the two photo-editing methods learned.
Jobs this course suits
Our AI checked this course against 500 jobs; these get the most out of it. Each job links to its learning path.