AI agent for 3d artists
Render Settings Optimization Agent
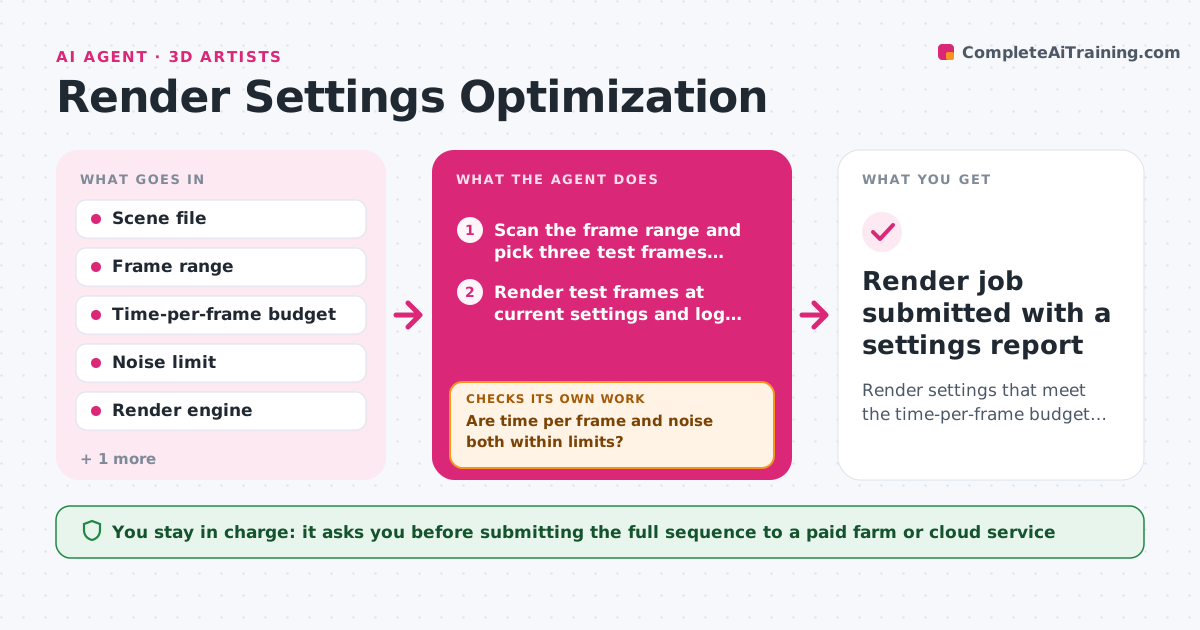
Render settings that meet the time-per-frame budget and the noise limit before the full sequence is submitted
What it does
Before a final render, artists often guess at sample counts and light settings, then lose a night to frames that are too slow or too noisy. This agent renders a few test frames from the hardest parts of the shot, measures time per frame and noise in dark and glossy areas, and compares both to your budget. If a frame is too slow, it lowers the setting with the smallest visual cost first, such as indirect bounces, before touching samples. If noise is above the limit, it raises samples only in the noisy pass or enables the denoiser. After each change it re-renders the same test frames and checks both limits again. It never submits the full sequence to the farm or a paid cloud service without your approval. Edge case: motion blur hides noise in fast frames, so it always tests one slow frame too.
How it works
Follow the arrows from top to bottom. The orange dashed arrow is the loop: when a check fails, the agent goes back and tries again.
Read the steps as a list
- Shot marked ready for final render
- Scan the frame range and pick three test frames, including one slow-motion frame
- Render test frames at current settings and log time and noise per pass
- Rank settings by visual cost: bounces, light samples, volume steps, denoiser
- Apply the cheapest change for whichever limit is broken
- Re-render the same test frames
- Are time per frame and noise both within limits?If not: undo the last change if it made things worse, try the next setting on the list, and stop after six rounds with a report. Back to step 5.
- Do the test frames match the approved look frame visually?If not: mark which setting changed the look and move it to the bottom of the list. Back to step 4.
- Artist approves settings and farm or cloud submissionThe agent waits here for your OK.
- Render job submitted with a settings report
How it decides
It picks test frames with the most glossy, dark or volumetric content. It changes the cheapest setting first and only keeps a change if both time and noise stay within limits.
- Flag a frame as too slow when it exceeds the budget by more than 10%
- Treat noise as too high when the measured noise in any pass is above the limit (default 0.02)
- Lower bounces before samples, and samples before resolution
- Stop tuning after 6 rounds and hand the trade-off to the artist
Make it yours
Every agent is a starting point. You choose these settings for your own situation.
- Time-per-frame budget (default 5 minutes)
- Noise limit per pass (default 0.02)
- Number of test frames (default 3)
- Settings the agent may never change (default resolution and frame rate)
- Render engine and farm to use
What keeps you in control
It always asks you first
- Submitting the full sequence to a paid farm or cloud service
- Any change to resolution or frame rate
Hard limits
- Never submit to a paid farm or cloud service without approval
- Never overwrite the artist's saved scene; settings go into a copy
It stops when
- Done: all test frames within time and noise limits and the look matches
- Stop: six rounds without meeting both limits, report sent to the artist
Set it up
We guide you through the set-up, step by step
Members get the full set-up guide for this agent. No technical skills needed: you copy, paste and upload.
- One set of instructions to paste into your AI, with the clicks for ChatGPT, Claude, Microsoft 365 Copilot, Gemini and Grok
- The agent then walks you through connecting your own data, one source at a time
- A downloadable copy with the flow chart, the rules and the full guide